
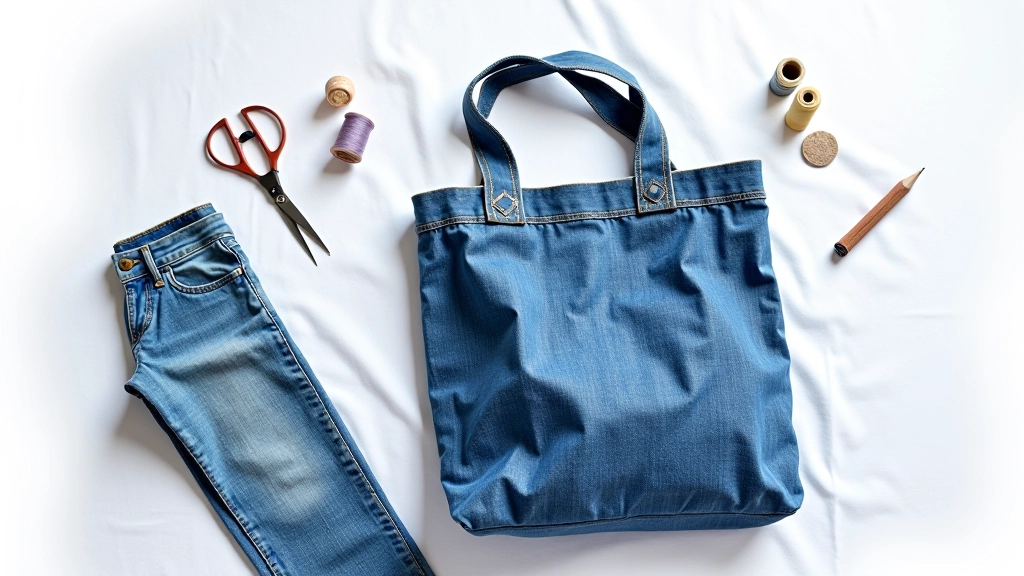
Beginner Guide
Getting Started with Your First Sewing Machine
Master the essential features, threading techniques, and basic stitches you'll need before tackling your first real project.
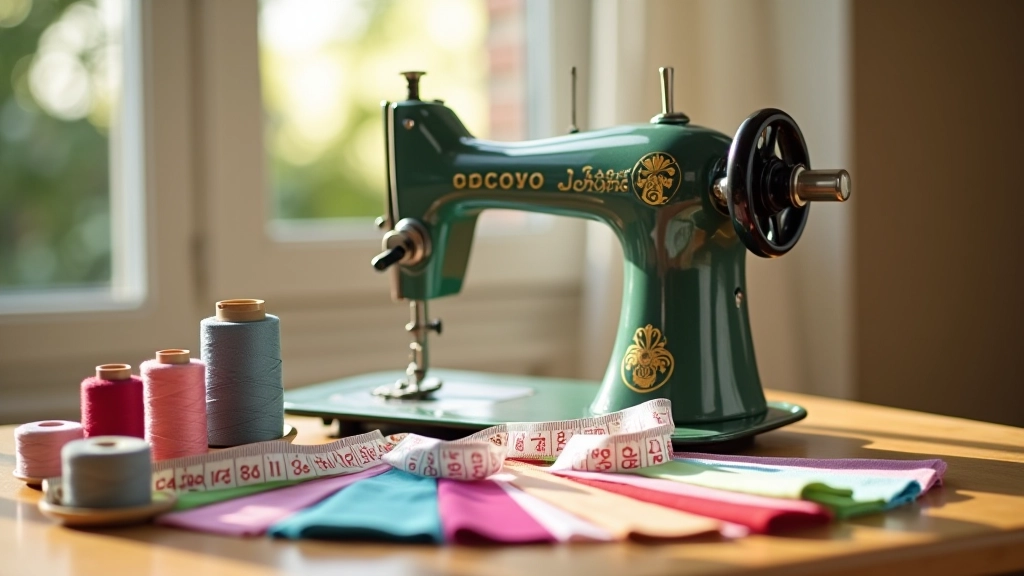
Why Getting the Basics Right Matters
There's a moment when most beginners sit down at their first sewing machine and feel completely overwhelmed. You've got all these parts, buttons, and levers, and honestly, it's not clear what half of them do. That's completely normal.
The good news? You don't need to understand everything at once. We're going to walk through the bits that actually matter — the things you'll use every single time you sew. Once you've got these down, you'll feel confident enough to move onto proper projects.
1
Know Your Machine
Learn the main components and what they're actually for
2
Master Threading
The most common cause of frustration solved in minutes
3
Practice Stitches
Build confidence with straight seams before moving forward
Understanding Your Machine's Main Parts
Most sewing machines have similar layouts, whether you've got a vintage model or something modern. Let's focus on what you'll actually interact with.
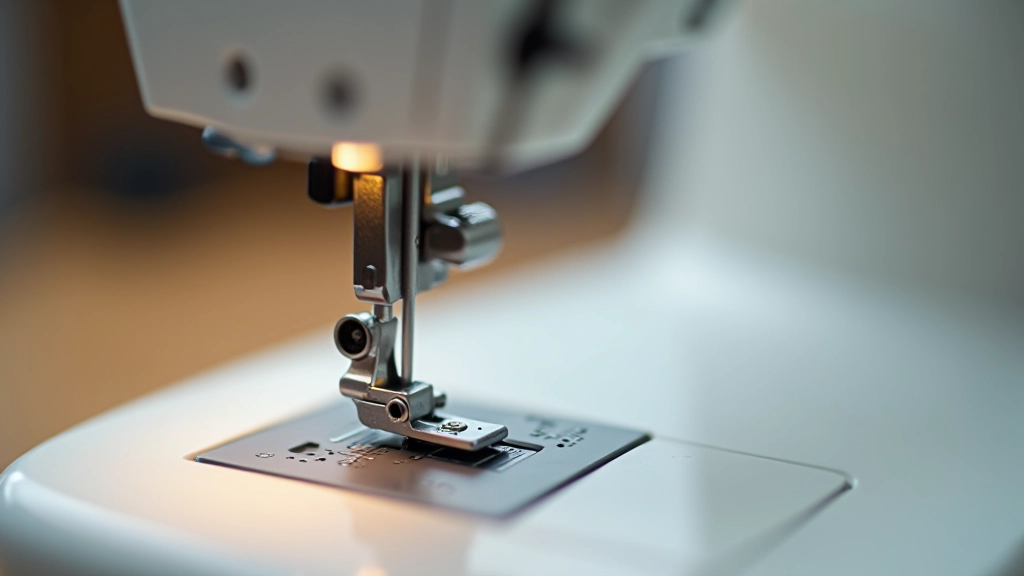
The Presser Foot
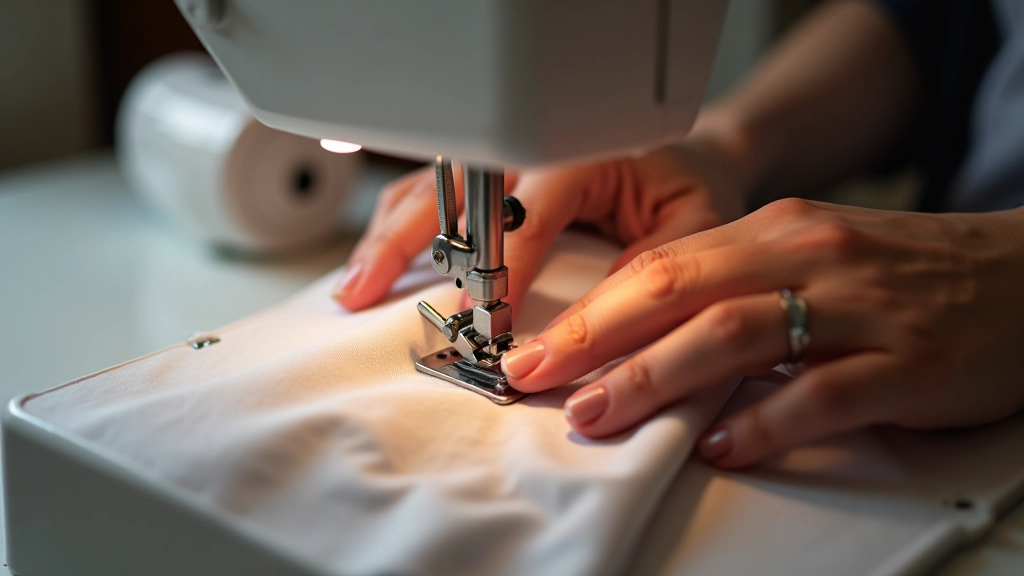
This holds your fabric down while you sew. You'll lift it up before threading and lower it before stitching. It's more important than it seems.
The Feed Dogs
These little teeth underneath move your fabric forward at the right speed. You'll rarely think about them, but they're doing all the work.
Tension Dials
These control how tight your stitches are. Most of the time, leave them at the default setting. We'll talk about adjusting them later if needed.
Stitch Selector
This dial or button lets you pick which stitch you want. For now, you'll mainly use the straight stitch.
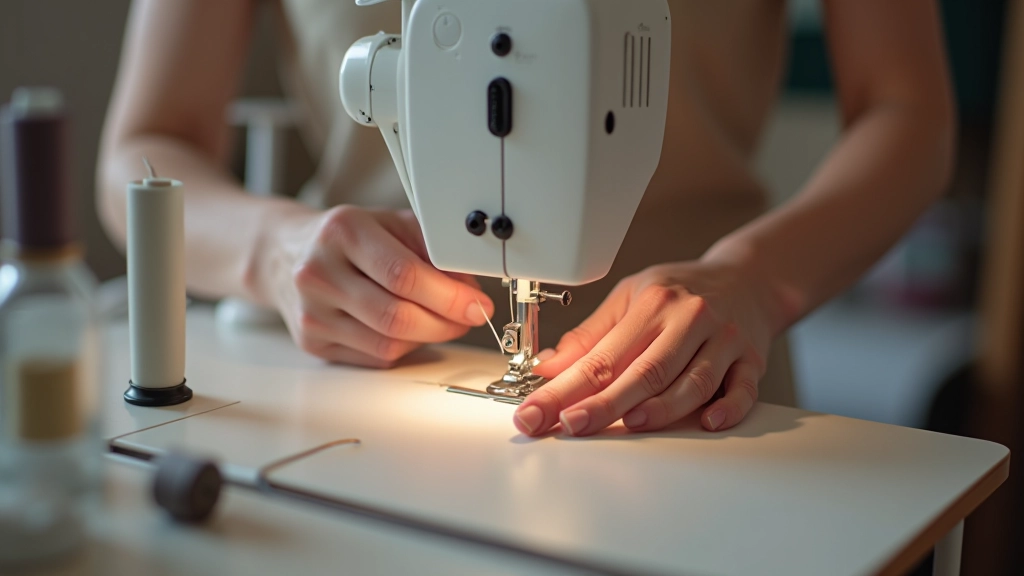
Threading Your Machine (It's Not as Scary as It Looks)
This is where most beginners get stuck. But here's the secret: threading is actually a straightforward process once you know the path. The thread needs to go from the spool, through a series of guides, and down to the needle.
1
Raise the presser foot lever. This opens the tension discs so thread can slide through. If you don't do this, the thread won't go through properly.
2
Place the spool on the pin. Wind the bobbin first (we'll cover this separately). Get your thread spool sitting securely on the spindle at the top.
3
Follow the marked path. Most machines have little marks showing where the thread should go. Pull the thread from the spool, through the tension discs, and follow the path down to the needle area.
4
Thread the needle. Most needles have a groove on the front. Slide the thread through the eye, and you'll want it to sit in that groove. Some machines have a needle threader — use it if you've got one.
5
Lower the presser foot. This closes the tension discs and locks the thread in place. Now you're ready to stitch.
Common threading problems? If stitches are loopy or your thread keeps breaking, you've probably missed one of the guides. Take the thread out and follow the path again slowly. It happens to everyone at first.
About This Guide
This article provides educational information for beginners learning basic sewing machine operation. Machine models vary significantly — always consult your specific machine's instruction manual for detailed threading and operation guidance. If you're unsure about any feature on your machine, the manufacturer's guide is your best resource.
Your First Stitches: Building Confidence
Now that you've threaded the machine, it's time to actually use it. Don't jump straight into a project. Instead, grab some scrap fabric and practice on that first.
The Straight Stitch Practice
The straight stitch is your foundation. It's just a line of stitches, but getting it consistent matters. Cut some fabric scraps into strips about 15cm wide. Layer two strips together, and sew a line down the middle.
Keep Your Seams Straight
Most machines have marks on the throat plate (the metal part in front) that show seam allowances. Use these as a guide. Aim for 1.5cm from the edge of the fabric.
Slow Down
You're not in a race. Use a steady speed, and if you need to pivot, lift the presser foot, turn the fabric, lower the foot, and continue. No panic required.
Backstitch at the Start and End
Most machines have a backstitch button. Press it for the first and last 1cm of every seam. This locks your stitches so they don't unravel.
Understanding Tension (And When to Leave It Alone)
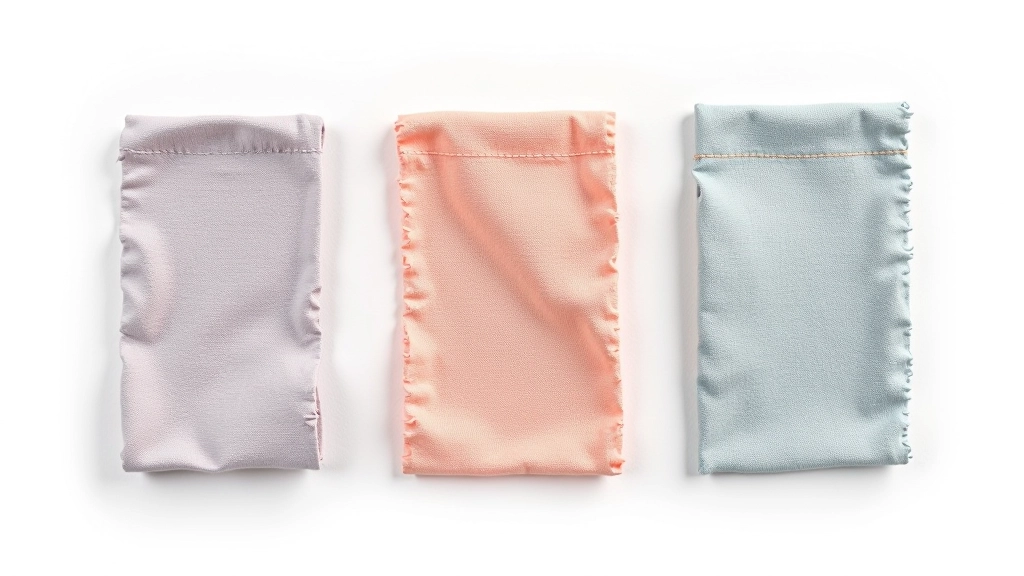
The tension dial is one of those things that looks more complicated than it is. Tension controls how tight the thread loops are. Most of the time, you won't need to touch it. But if your stitches look wrong, you'll know where to look.
Stitches look loose and loopy?
Usually this means the top tension is too loose. But first, check that you've threaded correctly — it's the most common culprit. If threading's fine, turn the dial slightly higher (toward the higher number).
Stitches look tight and puckered?
The top tension might be too tight. Turn it slightly lower. Make small adjustments — even one or two numbers can make a difference.
Stitches look perfect?
Leave it alone. Seriously. Once it's balanced, don't fiddle with it unless something changes.
Here's a pro tip: write down the number your tension dial is at when stitches look good. That's your baseline. If you need to adjust it later, you'll know where to return to.